Friday, January 18, 2013

SNOW!!!-----

Well snow has finally visited East Tennessee and some of us are very happy about that!  It started off as what was supposed to be a small event with most of the snow skipping over us and going on to dump in the mountains.  However, once the snow started, it began to thunder and lightening and the snow was heavy and ongoing for several hours.  We had been so warm and so wet, most
of us didn't think it would stick but it did.  We wound up with 4-5 inches of heavy wet snow with lots of people without power in the Knoxville Area.  My satellite was covered in snow and I had no TV service and I'm not sure the correct amounts of snow but here are a couple of pictures to share.

The first picture is from my front porch after it had been snowing about 30 minutes.  Honestly I thought this would be about it.


This photo was taken as it was getting dark.  It continued to snow a little longer before it stopped.  I can't wait until it gets light outside and I can see what is going on out there this morning. 
 
 
I think we wound up with 4-5" before it was all said and done.  Once the snow stopped, it immediately began to melt.  But it was beautiful!
 
OK I'm out of here for a bit.  I'll be back later with a card for you!

Wednesday, January 16, 2013

Welcome to Heartfelt Creations Wednesday!

Good morning everyone!  I'm so glad you are able to visit this morning.  Grab a cup of coffee and get settled in and I will share my card that I made for Heartfelt Creations.


Heartfelt Creations Products Used:
HCDP1 229 Countryside Evening Paper Collection

HCD 722 Tattered Blossoms Die
HCPC 3468 Tattered Blossoms PreCut Set
HCD 729 Decorative Blossom Corner Die
HCD 728 Timeless Amour Die
HCPC 3512 Antique Latern PreCut Set

Other Supplies:  Spellbinders Venetian Motifs, Floral Ovals, Fancy Lattice and Long Classic Rectangles, Memento Ink, shimmer spray, Ranger Distress ink, gold leafing pen, glue, card stock, Canson watercolor paper, glitter, Scor-tape, seam binding, dimensional tape, Lily Pad Dew Drops

Instructions:  Card Size: 5” X 7”
Make card base and cover with paper from the collection.  Cut out dies.  Color the petals with distress ink and spray with shimmer spray.  When dry edge with the gold leafing pen.  Glue the petals to make a flower.  Add glitter and seam binding to the lattice piece and glue a piece of the paper collection to the back; attach to your card base.  While oval die is still attached to the card stock, add color using distress ink.  Stamp sentiment onto this oval and attach over the lattice piece.  Next I glued paper to the heart piece and attach using dimensional tape.  Now glue dew drops where you like the way they look.  Attach the flowers and swirls where you like.  Now tie your bow and attach it to the bottom of the card.
Now I would love to invite you to visit the Heartfelt Creations blog and have a look around.  You are sure to be inspired.  Everyone has been working (playing) so hard to show you all the lovely stamps and dies and papers in the January Release!  I love each and every piece of the whole collection! 
 
That's it for me this morning.  It's still raining and flooding here in East Tennessee; a little sunshine would be welcome!


WOYWW #189

Good morning everyone!  It's What's On Your Workdesk Wednesday and I'm here to share my space with you.  If you are curious about this, head over to Julia's blog and have a look around.  Then come join us and feel free to be curious and look around!  We have bared our souls and are showing what we are about!

 
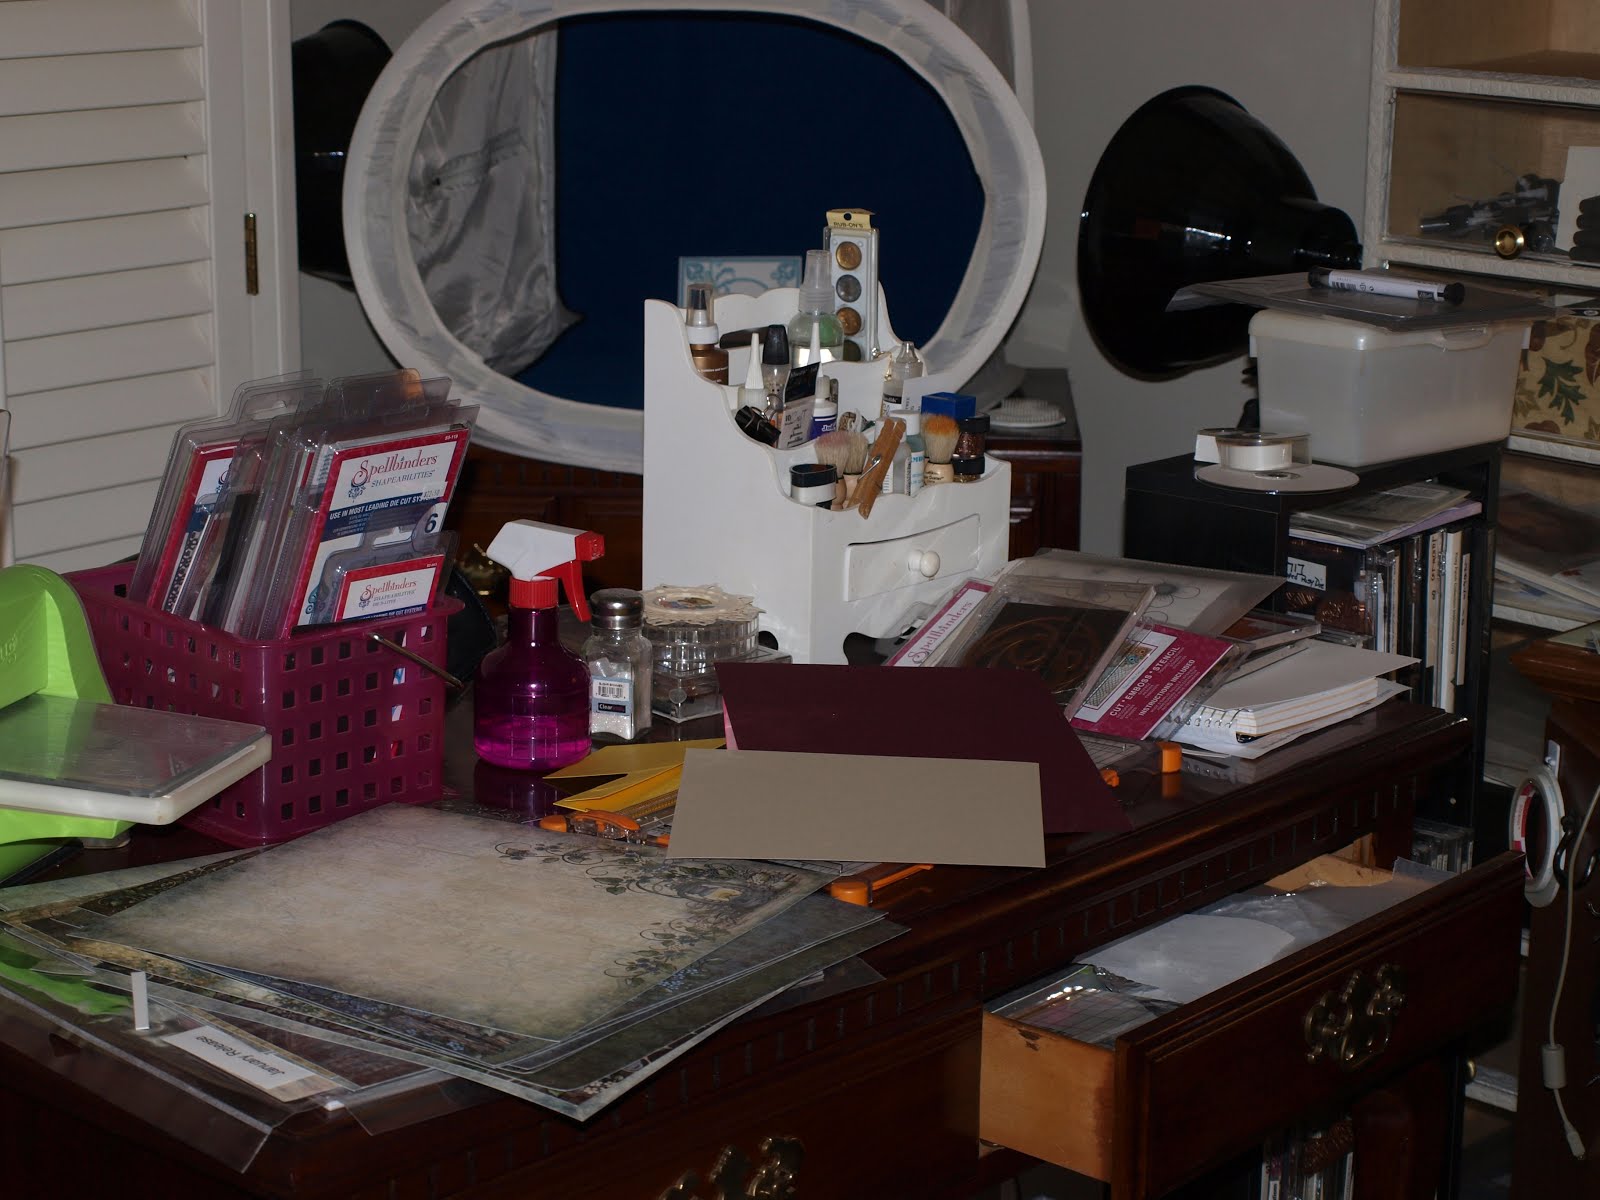
This is a picture of my side desk; now you see why I seldom show it!  This is where I stack everything I've used or might want to use when I am working on a card.  This keeps my work space somewhat tidy so I don't lose stuff!
 
 
And this is my work desk.  I recently purchased a lattice die from Spellbinders and I've been playing with that.  Also been making some little yellow flowers for a card that is in the works.  The red mat on the left is what I use to shape my petals and I also glue on that mat.  Then there is just the usual jumble of "stuff" that needs to be put away.  So there you have it. 
 
We are experiencing lots of rain here in East Tennessee; it has rained for two days and two nights and it's still pouring down outside!  I probably should give up paper crafts and start building a boat!  We even have school closings because of the rain and flooding.  West Tennessee had ice and freezing rain so we are very lucky to be just getting rain.  Well that's it for me this morning.  I'm off to visit as many desks as I can.
 
Have a wonderful day and I hope you are high and dry!

Monday, January 14, 2013

Clean and Simple Thank You.......


Good morning everyone!  Hope your weekend was a good one!  Today I want to share a clean and simple thank you card that I made for the challenge at Joan's Gardens.  I haven't been able to play along in Joan's challenges for some time and I've really missed being a part of that!  It's one thing or another and lots of excuses as to why I just don't take the time.  So today I decided her challenge was just what I needed.  I've been needing some thank you cards and since Joan's challenge calls for a thank you card...it is a perfect fit!
 
Joan's challenge called for: 
 
A Blue and White Card
Use 4 corner dies
Make a Thank You Card
Add a flower
 
I think I covered all the bases.  I wanted this to be a clean and simple card so you could possibly send to either male or female.  I don't know, the flower may take it out of the running for a man.  What do you think?
 
Well that's it for me this morning.  Hope your day is a good one and that you have time to stop and smell the flowers along the way today!
 

Friday, January 11, 2013

Yesterday's Memories

Good morning everyone!  We have made it to Friday again and I hope you have a wonderful weekend planned!  I'm here this morning to share another Heartfelt Creations card I have made.


You can visit the HC blog to get all the supplies used and the instructions for this card.  While there, as always, please have a look around.  There is so much creativity on this design team and I know you will be inspired. 
 
Well I know this is short and sweet, but I want to visit some of you this morning and see what you have had going on.  So no matter where you are and no matter what you are doing take a moment and Breathe! 

Wednesday, January 9, 2013

Introducing Heartfelt Creations Countryside Evening Collection......

Heartfelt Creations has created a delightful ‘Countryside Evening’ for you. There’s beautiful typography, countryside scenes, one awesome die, and 24 beautiful papers.This set is a beautiful choice for the beautiful moments. Get yours now at www.heartfeltcreations.us. Leave a comment on the HC blog by January 15th and you will be eligible to win the entire release valued at $150.92 .


Sunny Days Tag
Heartfelt Creations Products Used:
HCPC 3511 Melodious Songbird PreCut Se
HCD 729 Decorative Blossom Corner Die
HCDP1 229 Countryside Evening Paper Collection
HCD 727 Vintage Floret Die
HCD 3500 Open Vintage Floret PreCut Set
HCD 3502 Mini Vintage Floret PreCut Set
HCPC 3405 Leaf Medley PreCut Set

Other supplies:  Spellbinders Foliage and Labels Twenty Dies, Ranger Stickles, glue, Paper Blossoms Tool Kit, Ranger Distress Ink, gesso, Mod Podge, tag, memento ink, Ranger distressing tool
Cut decorative paper to cover tag, mod podge it to tag.   Distress the edges and use distress ink to add some color to the edges.   Cut out corner die using a coordinating piece of the decorative paper and glue that to the upper corner of the tag.  Stamp the sentiment onto another piece of paper and cut out using the labels die; adhere to bottom of the tag. Next I stamped and cut out the flowers and leaves.  I used gesso to coat, leaving some areas of the paper showing through.  I also added stickles here and there to add some texture and interest to the flowers and leaves.  Once dry, arrange the flowers and leaves and glue down. 
 
For more beautiful creative ideas visit the HC blog and have a good look around.  You can see what the designers have made this week and get all the supplies used and the instructions for their projects.  And don't forget to leave a comment there to be in the drawing for the whole collection!


WOYWW #188

Welcome to What's On Your Workdesk Wednesday!  If you are wondering about this,  just take a visit to Julia's Blog and have a look around.  She is the creator of this little adventure and I'm so grateful to her for it.  I love letting you have a look into my life and I also get to visit every one's blog and look at what they have going on.  


I must confess I had been working on a card or two and was beginning to clean up  my mess when I thought I should take my photo then.  Not too much of a mess left, I'm afraid ... just some of my tools and a little glue and glitter left.  I had been making flowers and had quite a mess of glue and color all over the place and needed to get up some of the glitter before I had it in my eyebrows!
 
Well that's it for me this morning.  Hope your day is a good one and that you take a moment out of your busy day and "Breathe"!