Wednesday, October 10, 2012
WOYWW #175
Good morning everyone and welcome to WOYWW #175. Fellow WOYWW participants all over the world gather on Wednesday and show you our work desks! If you would like to become one of us just head over to Julia's blog and you can get all the details there. Basically we all take a picture of our mess and post it to our blogs then we link that on Julia's blog, then we can visit each other. I am totally addicted to this madness and when I have to miss a Wednesday, I feel a little lost.
So just look at the mess on my desk this week. Lots of left over supplies that are waiting to be put away, but looking pretty good. I actually like to keep my space neat because I function better that way.
So that's it for me this week. Short and sweet and on to visit as many people as I can. Have a great day and no matter where you are or what you happen to be doing, take a moment for yourself and "Breathe"!
Monday, October 8, 2012
Winter Houses.....
Good morning everyone. I'm here to share another card I made for my Holiday stash. I have been trying to use some products that I have had for ages and this card uses some of those and an older technique. I used Dreamweaver Translucent Embossing Paste and a stencil to create these cute little houses on black card stock. While the paste was still wet I sprinkled glitter over it. The image was then matted onto gold card stock after everything was dry. I really like the look of this and think it worked into a pretty holiday card.
I have also been doing some of this on white card stock using the glitter. It gives it an icy feel and I think it is quite lovely. Have you started your holiday cards yet?
Well that's it for me this morning. I hope you have a good Monday and that you take a moment for yourself and "Breathe"!
Friday, October 5, 2012
A CAS Holiday Card to Share....
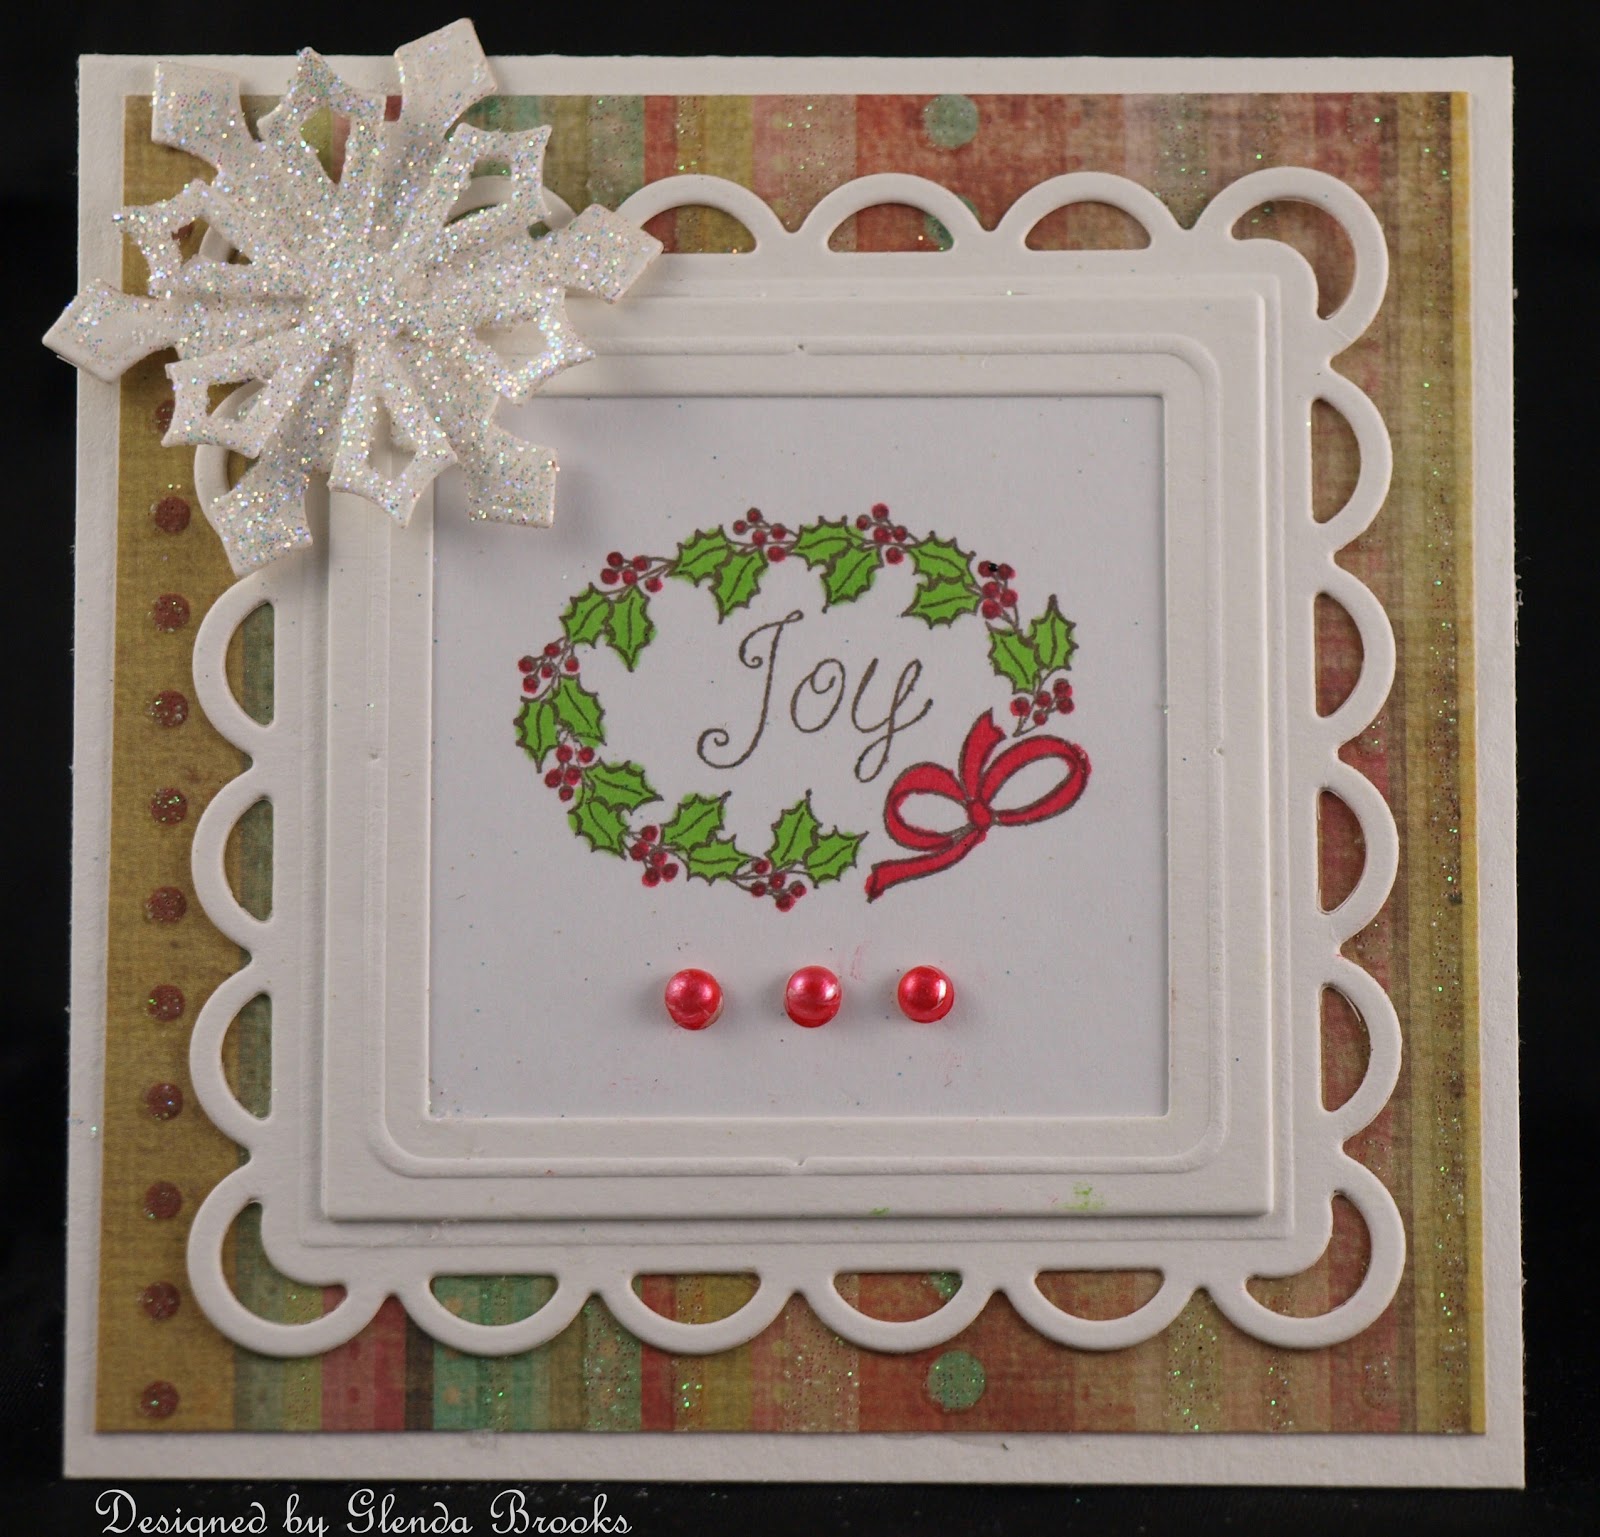
Good morning everyone...we almost have another week under our belts and we are quickly moving into the Fall season and suddenly it will be Christmas! In keeping with that, I wanted to do a clean and simple card that could go easily into the mail. You know me, I love 6 x 6 cards holding all I can get on them and then some. But when it comes to mailing them, we have to be realistic and scale it back a little. So a little color, a few dies, some pretty paper and a little bling and it is off to a special friend.
I hope you have a great weekend planned. As for me I plan to relax a little after the hectic week I have had. Lots of chores that had to be done getting the outside ready for winter. I'm going to put up my feet and play a little! I hope you can do the same and have a little time just for you and remember to Breathe!
Wednesday, October 3, 2012
WOYWW #174
Happy WOYWW everyone! It's time for another picture of my little corner of the world and a tiny mess today. Every Wednesday we post a picture of our work desk and then link it to Julia's Blog.
Then we can visit each other's desks and see what is going on. I can visit desks all over the world and see what kind of crafts everyone is into! It's a wonderful addiction and I'm hooked!
I was thinking I needed to do some cleaning and pick up off my desk as I have been working on a couple of projects and so I took my messy picture for WOYWW. Well when I uploaded it and had a good look at it, it actually looks pretty neat. I just need to put a few things away before I start on my next project. My usual cup of coffee, my phone, some Ranger Distress Inks, glue, shimmer spray and a Cuttlebug Embossing Folder...and everything is stacked together so it won't take long! I really need to start taking a picture of it when it is really bad and save it to post on Wednesday. Is that cheating?
It just seems like this time of the week, I'm in between projects and it's hard to have a mess because I always put things away from one project before I start another.
Well that's it for me this morning...short and sweet. Now I'm off to visit as many desks as I can while I have my morning coffee! Have a great day and no matter where you are or what you are into, take a moment and "Breathe"!
Monday, October 1, 2012
October 1........
Where in the world has this year gone? Suddenly I look up and it's the beginning of October and everything will be in a flurry before you know it!
This morning I'm sharing a little image that has been made into a Christmas card. We all need them and even though I no longer mail so many, I still need several. This will go into my reserves and when the time grows nigh it will be sent to a family member or a friend.
So are you beginning to make your holiday cards? What are your favorite colors to use?
That's it for me this morning. Kinda short and sweet, but I have lots to do today and must get started. I hope your Monday is a good one and that you take a moment to "Breathe"!
This morning I'm sharing a little image that has been made into a Christmas card. We all need them and even though I no longer mail so many, I still need several. This will go into my reserves and when the time grows nigh it will be sent to a family member or a friend.
So are you beginning to make your holiday cards? What are your favorite colors to use?
That's it for me this morning. Kinda short and sweet, but I have lots to do today and must get started. I hope your Monday is a good one and that you take a moment to "Breathe"!
Friday, September 28, 2012
Fall Leaves....
Good morning everyone. In case you forgot, it's Friday! The weekend is just around the corner and all is right with my world! This morning I'm here to share another card I have made. I love making Fall cards and this little cutie is just perfect to grace the front of my card.
I colored her with Ranger distress inks and a brush and mounted her on a doily. The rest is Spellbinders dies and designer paper. The leaves began as plain white card stock from Wal Mart and I used the inks to color them. Pretty easy once the image is colored. This little cutie will be going to the nursing home so that patient can have a card to give when someone does them a kindness.
Well I hope you have wonderful plans for the weekend. This old broad will be hanging out close to home doing her thing. We are expecting rain so I will be playing indoors! Not a bad thing. Whatever you wind up doing and no matter where you are, take a moment and "Breathe"!
Wednesday, September 26, 2012
Heartfelt Creations Design Team Semifinalist
I just received word that I've been chosen as a semifinalist for the Heart Creations Design Team! I'm so excited I could just spit! Those of you who know me, know I love this company and all their products. So you can imagine how excited I really am. Below are the three projects I submitted to Heartfelt Creations.
I hope you enjoy these three projects and you can also see more of the projects I have created by clicking on the Heartfelt Creations Label on my right hand side bar. There are also many of my favorite projects listed on a page at the top of my blog. So have a look around and enjoy. Heartfelt Creations customers will be voting for the new design team, so it goes without saying, I would really appreciate your vote. Just go to the Heartfelt Creations Blog and submit your vote.
“Remembering Lisa”
Heartfelt Creations Products used:
HCPC 3406 Botanical Floral 1 PreCut Set
HCPC 3407 Botanical Floral 2 PreCut Set
HCD 712 Bella Rose Die
HCD 713 Lace Border Die
HCPC 3377 Sympathy Sentiment PreCut Set
Other Supplies: Canson water color paper, white cardstock,
Ranger Distress Inks, Memento Ink, Cuttlebug Embossing Folder (Textile
Texture), Spellbinders dies: Fancy Tags Two, Labels Four and Foliage,
Score-Tape, Zip Dry Glue, pop dots
Card Size: 6” X 6”
Cut card base out of water color paper for stability. Cut a piece of white cardstock 3 ½” X 6” and
run it through embossing machine with folder.
Adhere to the top of card base.
Cut out the lace border and adhere it with glue over the top of the
embossed piece to cover the rest of the card base. Cut two different sizes of the labels dies
and use pop dots to adhere them together then use glue to adhere to card base. Next I stamped the sentiment and used the die
to cut it out and then I slid the tag across the edge of my desk to make it bow
a little. I then glued it to the bottom
of the labels dies. Next I cut out the
foliage dies and swirls and added color where needed. Just a soft touch because I wanted this to be
basically all white. I stamped the rose
onto white card stock and cut out using scissors because I needed the center to
be solid so I could glue it. Shape the
edges of the petals and glue the layers together to form the rose. Position the foliage elements and swirls
under the rose and glue everything to the card base.
Heartfelt Creations Products Used:
HCPC 3421
Other supplies:
Canson water color paper, designer paper, green and burgundy card stock,
Ranger Distress Ink, Say it In Pearls adhesive swirls, Scor-Tape, Zip Dry Glue,
Spellbinders dies: Classic Ovals Large and Small, Parisian Accents, Labels
Twenty, 2010 Heirloom Ornament, and Floral Ovals .Gold leafing pen
Card Size: 6” X 6”
Cut base card and set aside.
Cut corresponding layering pieces and adhere to base card. Next I cut out the border die and glued it
behind the music sheet. Cut fancy oval
from watercolor paper and ink the edges to give it aged look. Glue this to the card. I cut the ornament out of burgundy cardstock
and used a gold leafing pen to edge it.
Next I cut an oval of green cardstock and one from the music paper and
glued them together. I used the gold
leaving pen on the green also. I cut
corner pieces out of the dies and hooked them over the ovals and glued them
together. I stamped the sentiment onto
another piece of watercolor paper and edged it with distress ink also. Attach this piece to the top of music
paper. Attach your ornament to the fancy
oval and apply the bling and you are all set.
Card Size: 6” X 6”
Heartfelt Creations Products Used:
HCPC 3451 Going to
the Chapel Precut Set, HCPC 3450 Cross and Lilies PreCut Set
Other supplies:
Canson Watercolor Paper, Memento Ink, Zip Dry Glue, Scor-Tape, Lace,
Spellbinders Floral Ovals Dies and Standard Ovals Large, Ranger Distress Inks, Prima paper
Stamp image onto watercolor paper and cut out with large
oval die. Color image using distress
inks and mount onto Floral Ovals die that has been edged with ink. Stamp sentiment onto watercolor paper and ink
the edges with distress inks. Make your
card base and mount designer paper using glue.
Next tape lace onto the bottom of the card and position the chapel image
and sentiment where you want them and adhere with Zip Dry glue.
Well that's it for me this morning. Congratulations to all the other semifinalists and good luck to you all! And don't forget to cast your vote for your favorites!
Subscribe to:
Posts (Atom)